Workspace Data Storage and Display
Workspaces are saved in the Location specified when Creating a New Workspace. Any Test File or Data File that is added to the Workspace is simply linked to the Workspace from its current location. This prevents using unnecessary memory from saving copies of these files. If the file is moved at any point; however, the program will not be able to find the file. If the user wishes, copies of Test Files and Data Files can be made and placed in the folder for the Workspace before adding them to the Workspace.
Note: Files stored on the same physical drive (e.g., C: or D:) as the workspace will be stored as a path relative to the workspace location. These files can be easily re-identified by EMGworks as belonging to the workspace. Files on a different physical drive will need to be identified as belonging to the workspace manually if the workspace is moved. This is not recommended.
Data Storage
When a Calculation or Plot is created, the resultant file is saved in the Workspace folder. If a Calculation of Plot is removed from the Workspace, the file is not deleted from the Workspace folder unless specified in the Options dialog box.
The first time EMGworks Analysis is run, if a workspace has never been opened, the first use dialog will be presented.
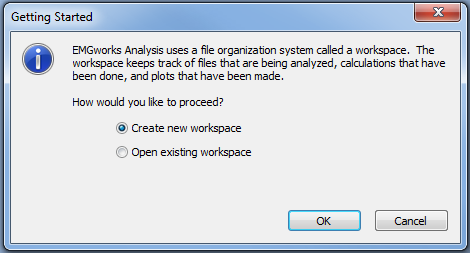
Click OK to create a new workspace to manage Test and Data files, or choose Open existing workspace to open a preexisting workspace file. Click Cancel to continue to the main program screen with no open workspace.
Data Display
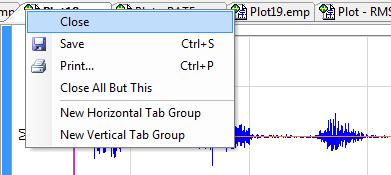
By default, the workspace will display open documents in tabs. You can change the display style to windows under Tools > Options. The settings change will take effect the next time the program is started. The list of tabs at the top edge of the workspace allows quick switching between open documents.
![]()
The arrows at the right edge of the tab list allow scrolling the list if it does not fit on the width of the screen. The cross will close the current tab. Right clicking a tab will display options on that tab.
 Close
Close